- Home
- Guides
- Features
- User Profiles
- Custom Avatars
Overview
The Custom Avatars feature can be accessed from the main Control Panel at Options > Custom Avatars.
Use Only Custom Avatars
By default, ONEsite offers a selection of avatars for new users to choose between. A network can choose to use these or to offer a set of images that better represent their network.
By selecting “Yes” you will only be able to use the avatars that you have uploaded. You may change this at anytime by selecting “No”
Adding Custom Avatars
Begin by selecting the number of avatars you would like to add. There is no limit to the number of custom avatars you can offer. You can also add more later, or remove any at a later date.

The custom avatar selection form requires 3 pieces of information be specified:
- a name for the avatar
- the type
- male
- female
- animal
- other
- the location of the file
Currently, while you need to fill in a name and type for each file you select, this information is not used anywhere.
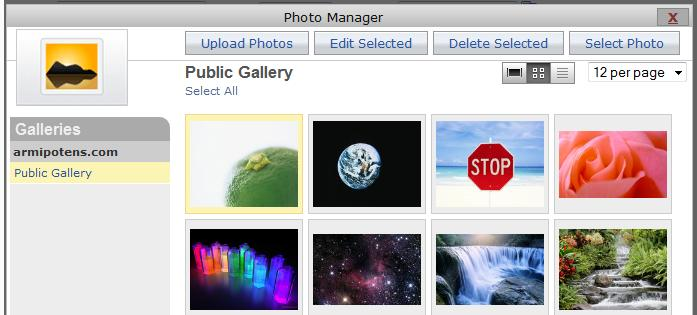
The standard ONEsite photo manager is used to upload and manage photo avatars.

Image files for avatars must be at least 160 X 120 height and width respectively.
Client Example
In the Control Panel
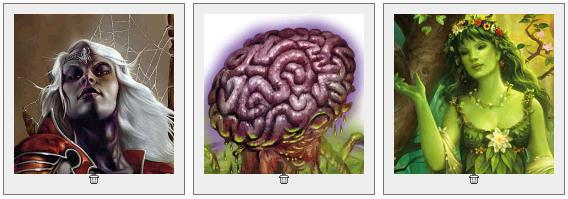
When avatars have been uploaded and selected, they will display in the control panel in the order in which they were selected. Each avatar can be removed and deleted from the active list at any time.

What the User Sees
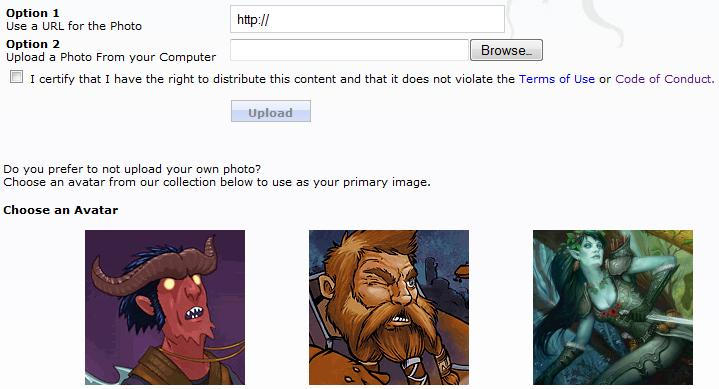
The avatar selection feature is part of the setup wizard flow and is accessed by going to the setup wizard and selecting the upload a photo step. Users have the option to:
- set a URL of a photo
- upload a photo from their computer
- or select one of the custom avatars a network has defined

