Overview
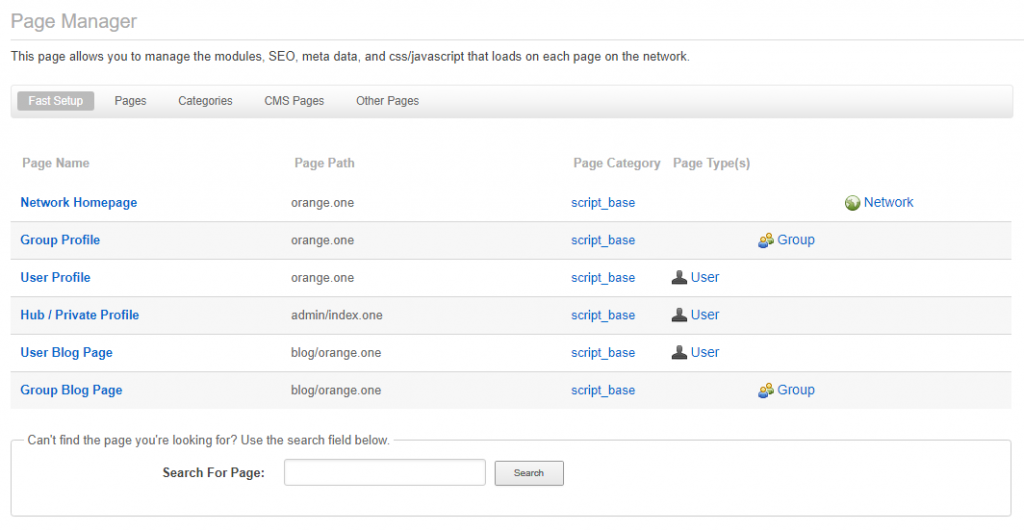
The Layout feature can be accessed from the main Control Panel at Site Builder > Page Builder > Page Manager.
The layout system, also referred to as the drag and drop system, allows network owners to customize the selection and arrangement of modules for the six key pages of the network. To customize further pages within your network, we offer the Page Manager which is accessed at Site Builder > Page Builder > Page Manager.
Begin by selecting the page you wish to customize from the list.
Templates
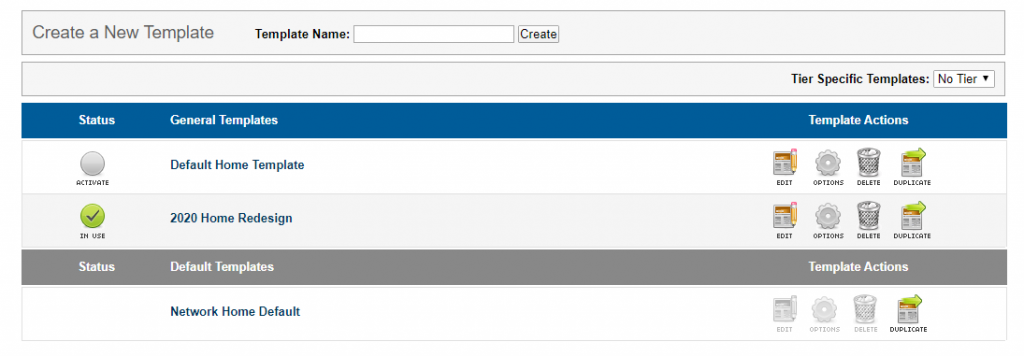
Each page in the drag and drop page manager comes with a default template already populated with modules that were determined to be useful for the majority of sites. These templates may not be modified or deleted but they can be duplicated from an existing template in the list. Or start fresh by hitting the Create button to make a blank template.
There is no limit to the number of templates that can created and edited for each page type. However, there will be only one active template at any given time, which will be designated as ‘In Use’ in the page manager. Clicking the Activate button will switch the active template to the new selection.
Editing Template Details
To the right of each template is an options button. Options include:
- Set the template as a tiered access template
- Rename the template
- Copy Template

Tiered Templates
By default, no template is ever assigned to a tier. However, by editing the options to a template you can assign a template to a single tier. What this means is that users in the selected tier will see the template in question, rather than the default active template that is available for all other users.
In the example below, we see the User Profile page was selected from the Layout menu. There is one template activated for the general audience and one template activated for users who belong to the Writers tier.
Tiered templates are very useful when you want to present a different user experience for select sets of users. For example, we’ve selected the Writers tier for this template. In this instance, the Writers will be responsible for posting the featured blogs on the site. On their profile page, I want to highlight those blog posts front and center to bring attention to them. A standard user profile page may not have the blog post module on the page at all.

The Drag and Drop Layout System
One of our prized features of the ONEsite Control Panel is our drag and drop layout system. It allows for complete flexibility when customizing the presentation of information on any page within our system and includes:
- Adding or removing columns
- Adjusting column widths
- Dragging modules up and down within columns
- Dragging modules between columns
- Sub-templates
- Customizing module details
After selecting the page and template you wish to edit, hit the Edit link to the right of the template name. This opens a new window displaying the drag and drop editor.
Understanding the Drag and Drop System
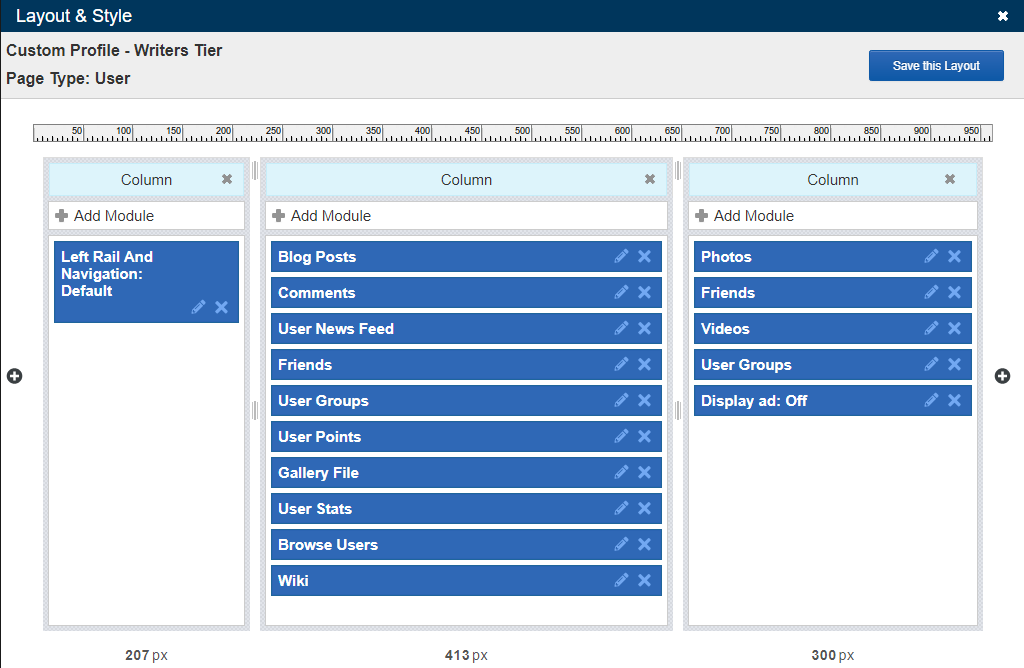
At the top of the new window is the header information. This area displays the name of your template, the page type and the Save this Layout link.
Below this is the actual drag and drop editor. This area is overlaid with a ruler that is the width set for your site. This width is set to 960px by default. This is what we have determined to be the best width to present your site to users on assorted monitors and resolutions. The editor also takes into account the outer and inner gutters set between columns.
Customizing Columns
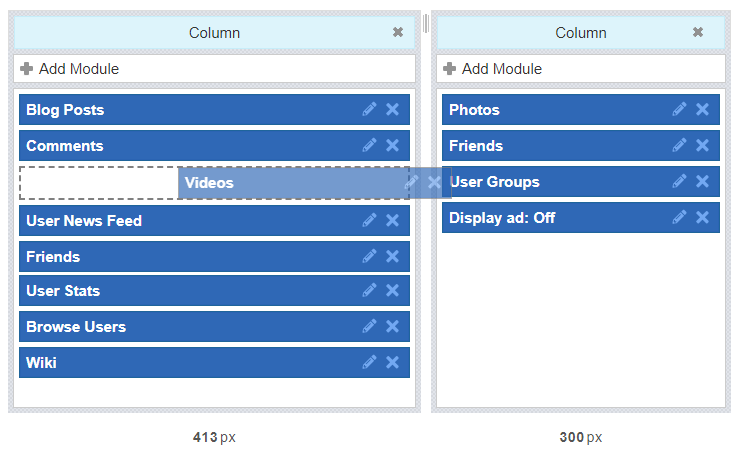
| Each column in a template may be removed by clicking the X in its top right corner. New Columns can be added by clicking on the yellow button found on the left or right of the outermost columns. The system supports as many columns as you want, however, please remember that too many columns will greatly restrict the space available for module contents to be displayed. We recommend anywhere from 1 to 3 columns as the ideal. New columns are added to the outside of the template and will reset the column widths of any pre-existing columns. This is important to note so that you can reset columns to their desired widths. |
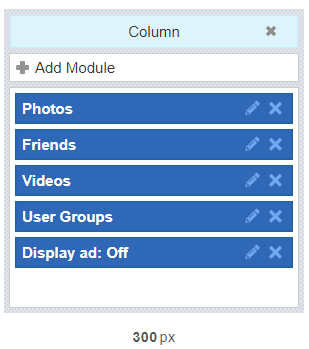
Between each column is gutter space. Mousing over a gutter will change your pointer icon to emphasis that you can now drag the gutter left or right. This allows you to change the widths of the adjacent columns.
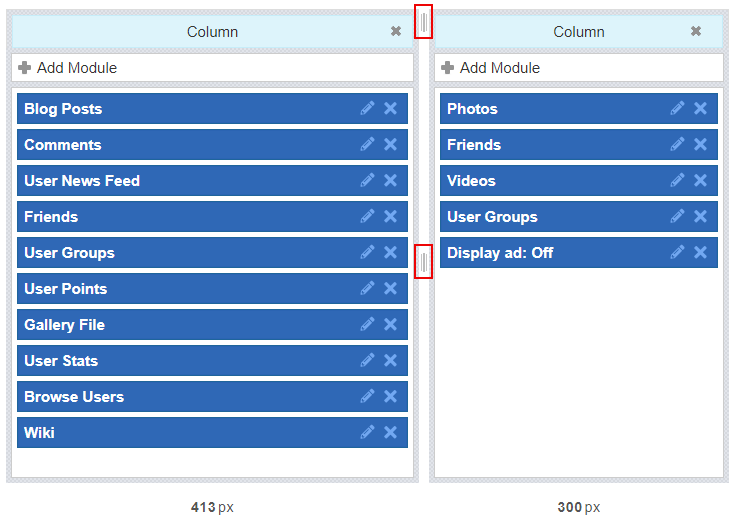
When you are on the main template, the widths are displayed in pixels below the column contents. These are exact widths. If you need your right hand column to be 300 pixels wide to support ad content, drag the adjacent gutter until the numbers in the right column read 300px.
It is important to note that when editing a sub-template (discussed later), that the drag and drop editor displays the same ruler and widths. However, sub-templates exist as a max width of the column they live in so if the parent template column has a width of 600 pixels, the full width of the sub-template will also be 600 pixels despite what the rulers and columns read. Sub-template columns use a percentage system. If you have two columns in your sub template and want them to share an equal space, you would set them to each be 460px and this would translate in 295px each (600px minus the 10px for the inner gutter).
Modules
Adding Modules
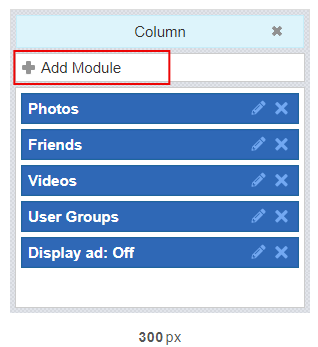
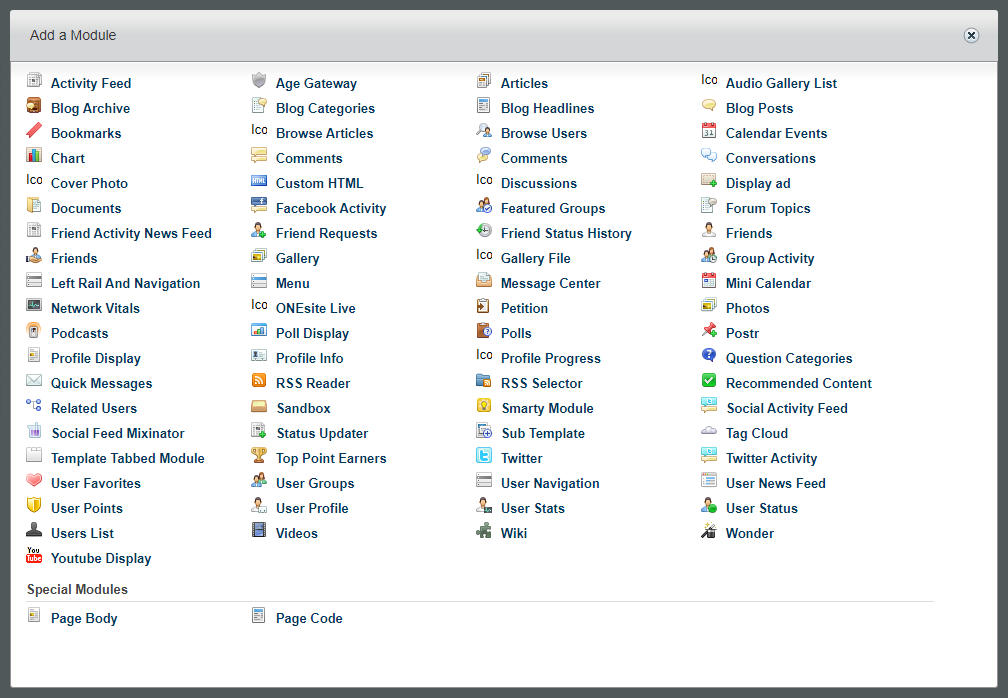
To add a module to a template, click on the Add Module link found at the top of any column. This opens a popup window listing all modules available for use on your template type. Please note that some modules are only available for a specific page type. I.E. you cannot add a Group Details module on a user type page.
Click on the name of the module you wish to add. Multiple modules can be added at once.
Customizing Module Positions
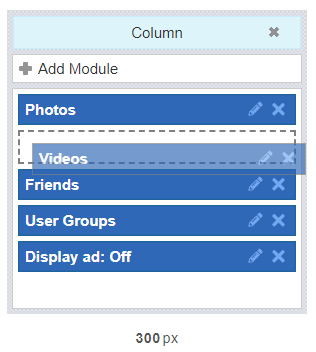
After you have added your modules to page, you can drag and drop them anywhere within the template. Simply click on the module and hold the mouse button down while dragging it to it’s new location.
Modules can be moved both within a column and between columns.
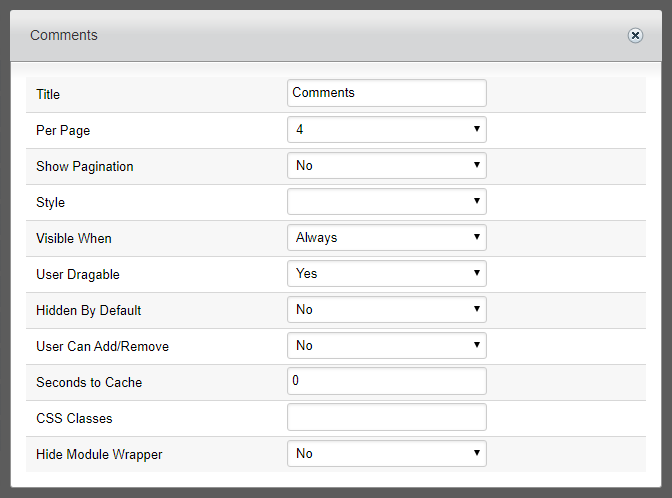
Editing Module Details
Once all your modules are positioned as you’d like them, it is time to edit the module details. While all modules have default settings assigned to them so that they will work without any changes on your part, it’s a good idea to Edit (pencil icon) link to the right of a module name and update the module settings to fit your needs.
For more information about module settings and a complete list of all available modules, their unique settings and sample view, please visit the Module guide.
Special Modules
There are two additional modules that bear special mention here:
- Sub-Template Module
- Template Tabbed Module
While called modules, these two items act more as templates in reality and have special rules and conditions that extend the template information presented on this page.