Overview
The ONEsite article system is a key component of the CMS. The network operator creates a page template, defines what other ONEsite systems the article system will tie into, and grants certain users the ability to write or edit articles.
Quick Start Guide
The use of ONEsite’s article system requires initial setup by your Project Manager. Please let them know if you would like to utilize this feature.

What you can do:
- Create an Editor tier and a Writer tier in the Tier Management page in the control panel. Editors have full access to the Manage Articles area while Writers may only create article but not publish them.
- Add members to these two tiers to give them access to the Manage Articles area of the community.
- Speak to your Project Manager to ensure the necessary backend setup has been completed.
- Finally, log in to the community as a member of the Editor or Writer tier and go to: www.networkname.com/go/articleTools/list to begin creating and managing your articles.
Managing Articles
The Manage Articles area of the community is not linked in anywhere in the site navigation. Users trying to visit the page who are not logged in or who have not been added to the correct tiers will see an error.
URL:www.networkname.com/go/articleTools/list
This page allows you to:
- View a list of current article or inactive articles
- Create, edit or delete articles
- Activate or deactivate an article
Creating Articles
Create a new article by clicking on the Create New link found in the upper left corner of the page. This will open the new article template.

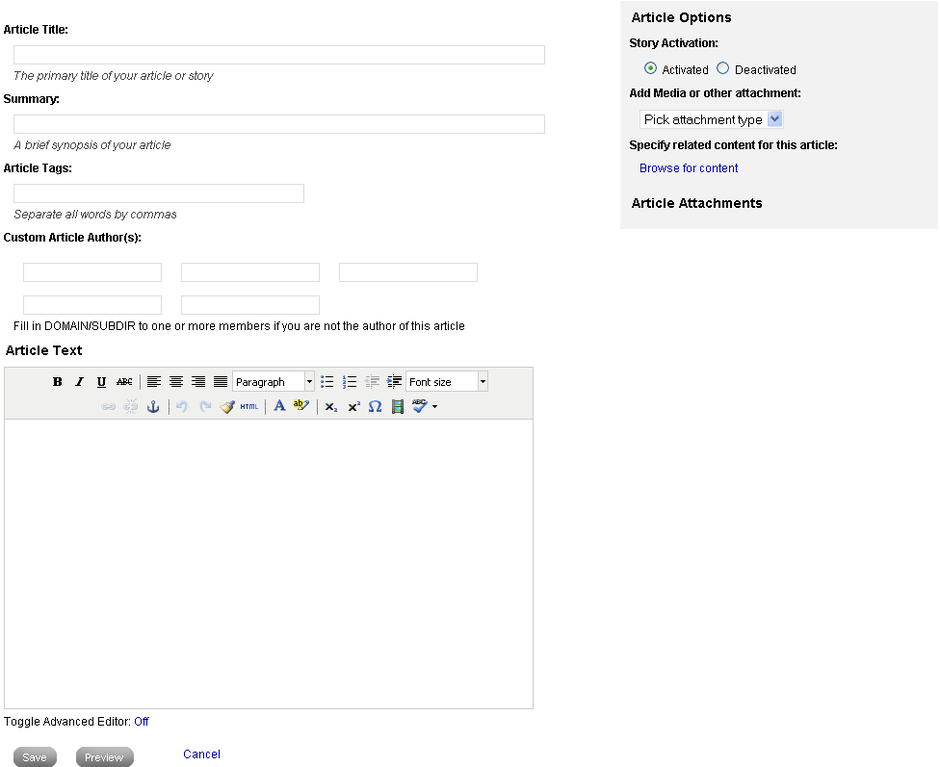
When creating a new article, the writer will have to enter certain pieces of information beyond simply the text and a title. This includes:
- Article Title: The title of your article.
- Summary: A brief synopsis of the article.
- Article Category: This field appears if content categories are enabled on your network.
- Article Tags: This is a standard tag field. Tags will display in the network tag cloud.
- Custom Article Authors: By default, an article will show as written by the person logged in and creating the article. However it is possible to add multiple other authors to an article.
- Article Text: This is the body of your article. It is written within the standard full featured Tiny MCE editor.
- Story Activation:
- Activated – This selection immediately publishes the article when you hit Save.
- Deactivated – This selection is the default if the writer is not in the Editor tier. Deactivated articles can be previewed and edited from the Manage Articles area, but will not be available to the general public.
- Add Media or other Attachment: Available options include:
- Photos
- Videos
- Polls
- Surveys (optional)
- Petitions (optional)
- Custom HTML (optional)
- Wonder (optional)
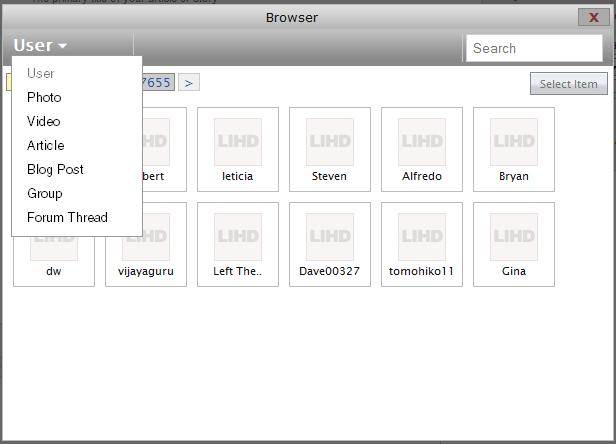
- Related Content: This option allows the network to highlight certain other content on the network that is related to the article in some way. Available types include:
- User
- Photo
- Video
- Article
- Blog Post
- Group
- Forum Thread
Note: Do not use Microsoft Word, Excel or Power Point to copy and paste your article text. When text is added from Microsoft Word, Excel, Power Point etc, the Microsoft text that has been copied over will cause formatting issues to the site that are not intended. ONEsite cannot be held responsible for any styling issues caused by this. If a Microsoft document is provided as your source to gather an article, you can convert the text by opening up Notepad or WordPad application and copy and paste the article there to help create a raw text to work with. Save the raw text and copy and paste directly from the Notepad or WordPad application to create clean text for your site’s community.
Editing Articles
A member must be a part of the Network Moderator, Network Administrator and/or Editor tier in order to edit an article.
Quick search is available for the editor if there is a long list of articles to search. Currently the search pulls in everything within the article with specific text. The editor can also choose whether they are active or deactivated from the dropdown found in the sample.
From the list of articles the editor can choose the Edit link that will open up the article interface page and allow them make their changes. They can also directly deactivate or activate an article from the Actions area found next to the article. Ex. This is a beautiful site! can be deactivated by clicking on the Deactivate link and activated by clicking on the Activate link. The View link will take the editor or writer directly to the live article.

Viewing Articles
After the article has been published, it will now appear within:
- Articles module
- Full article listing page: www.networkname.com/cms/
- Network search page: www.networkname.com/go/network/search
- Content categories page (for articles placed in a category)