- Home
- Guides
- Control Panel
- Content Builder
Overview
The Content Builder is ONEsite’s integrated content management system (CMS). This feature lives within the control panel at Site Builder > Assets > Asset Manager but also has an externally located component which allows users of your choice to maintain content for your site without needing access to the control panel.
The Content Builder allows you to set up and manage multiple kinds of content pertinent to your business model that are not part of the ONEsite social network offering. Examples of uses include:
- Job Boards – title, description, requirements, salary
- Game Console Details – system, age range, genre, screenshots, previews
- Music – songs, albums, artists, samples
- Movies – title, description, trailers, screenshots, cast, soundtrack
Each content type created in the Content Builder can stand alone or networks can create response forms for their community to interact with the Content Listing. This is especially ideal when you need to build a job board or similar content listing that requires user responses.
Content Builder Setup
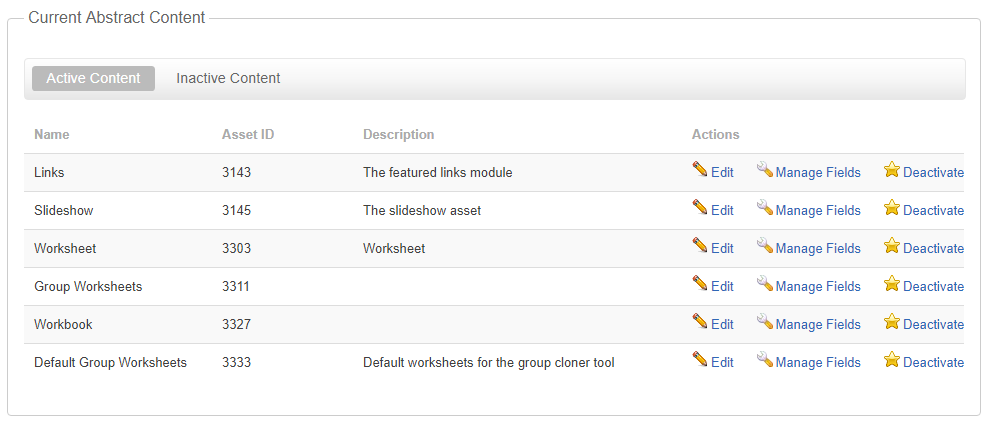
Each content type you would like to be represented on your network is entered here in the Content Builder. Hit the Create New Content button to get started.
You will be asked to specify the name and a description for your content type (optional). Once created, you may begin adding details to your content type.
In the example below we see a typical example of a music related Content system ranging from songs and bands to events, album art and products/merchandise.
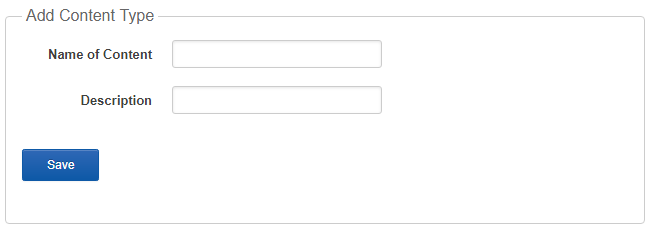
To add a new content type, enter a name for your content and description.
Once the Content Type has been created, you have the option to either activate the content type immediately or add fields to the content type. If you choose to add fields, you can always activate the content type at a later date.
Active vs. Inactive
When a content type is inactive, your staff or community members can not add new assets in that content type. However you may edit the fields associated with that content type through the control panel at any time.
There are two ways to activate a content type. When viewing the Inactive Content tab each content type will have an activate link to the right. Or, directly after creating a new content type, there will be a yellow ribbon and activate button at the top of the screen.

Adding Fields to Your Content Type
The form to add new fields is very similar to the Manage Profiles functionality. Every field has the following:
- Name – This is the name of the field as it will appear when to your users when they add a new asset.
- Description – This is a description of the field.
- Required – This checkbox allows you to set whether the current field is required information.
- Display – This option determines if the field will be displayed in the abbreviated results. It will still be displayed on the full entry.
- Searchable – Each content type will likely have certain fields you want users to be able to search on and others that while containing useful information do not need to be searchable. For example, specifying the dimensions of a photo item. Use this checkbox to set whether the field is searchable or not.
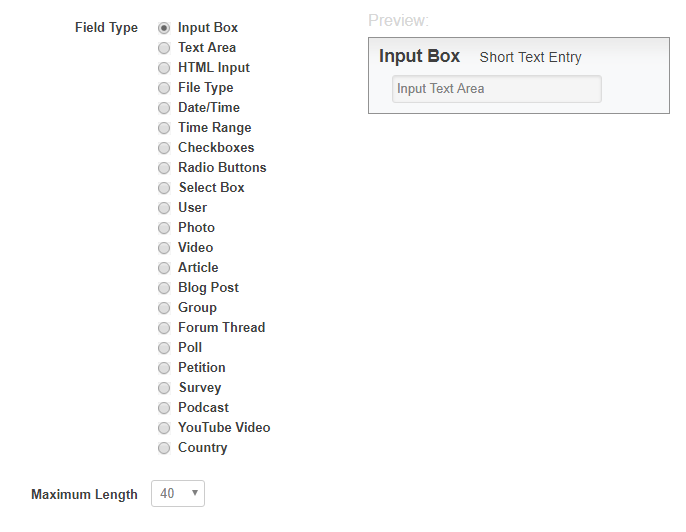
- Field Type – This option allows you to set what kind of data will be collected for this field. (see below) Choices range from input boxes and text areas, to a user or UGC content on the network.
- Max Length – This option sets the max length for text entry field types.
Managing Fields
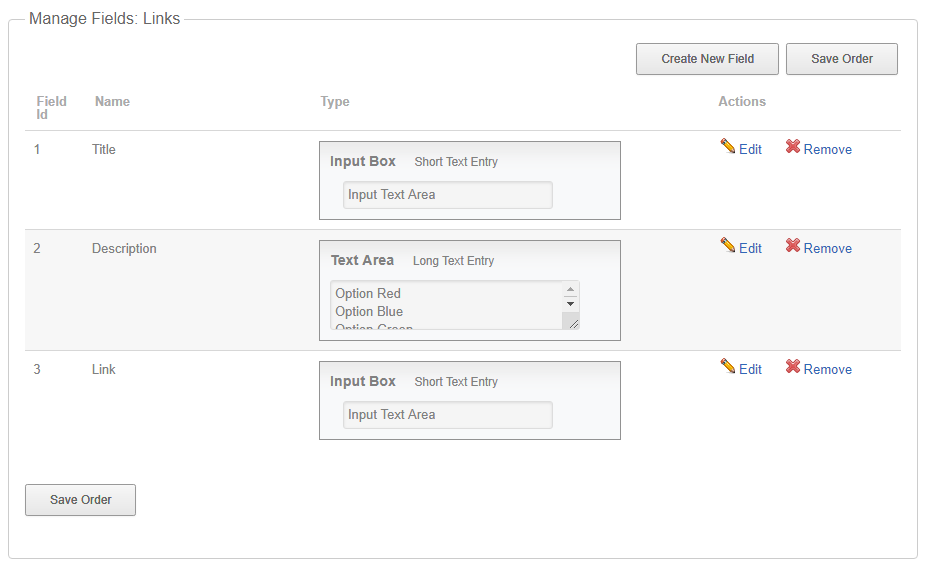
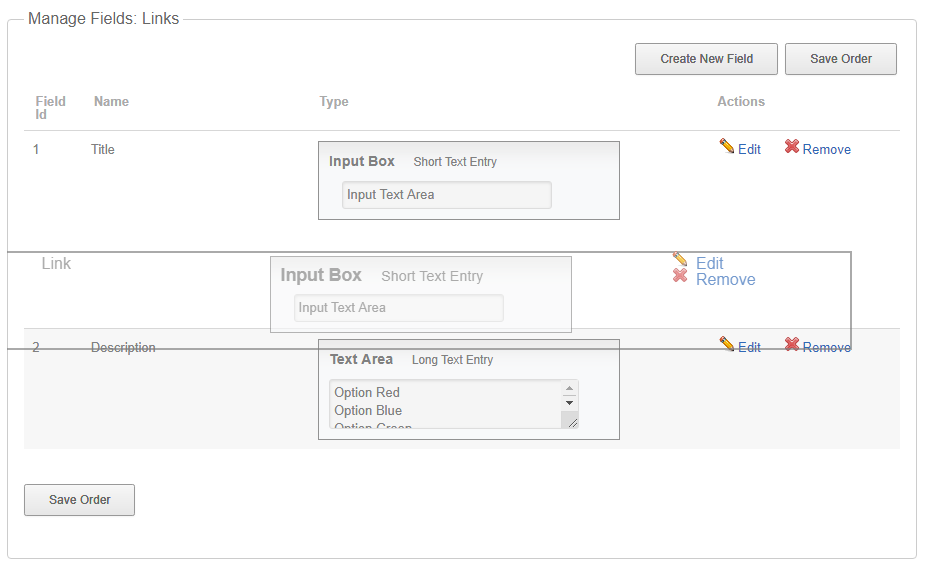
Each new field added to the content type will be displayed in summary format and contain:
- Title of field
- Type
- Edit link
- Delete Link
Each new field added will be placed at the bottom of the list.
Reorder Fields
To reorder fields, simply click on the field you wish to move and drag your mouse to the new position. Once fields have been reordered a Save Order button will be added both at the bottom and at the top of the field list.
Edit Existing Content Type
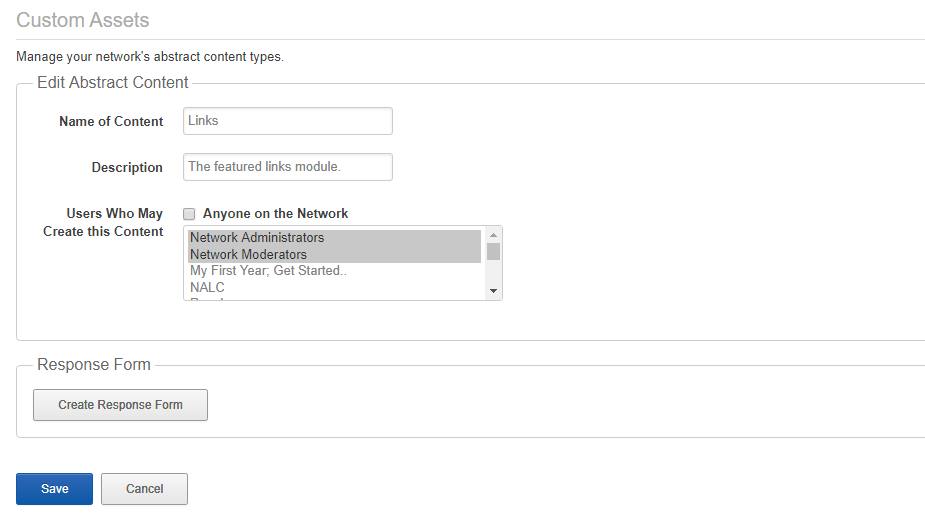
After a Content Type has been added, you will be given the option to edit it from the main listing screen. Information you can change includes:
- Name of Content
- Description of Content
- Users Who May Make Entries – This defaults to network administrators. However you may select to allow anyone on the network to create assets or limit it by tier(s).
Managing Content
After content has been defined in the control panel and activated, it becomes available in the Asset Manager.
